Indoors mural painting
This was my “little” summer project a couple of years ago. Since moving in with my partner to a new flat in January, the empty wall in the living room had been giving me lots of ideas. I wanted to paint something, to make it a home with personality. Then, I saw some fantastic art from Trimcoast and fell in love with it. Its flat colours and simple shapes made it ideal for a first-timer, but at the same time, it had lots of details that would make it wonderful to stare at for hours from my reading chair.
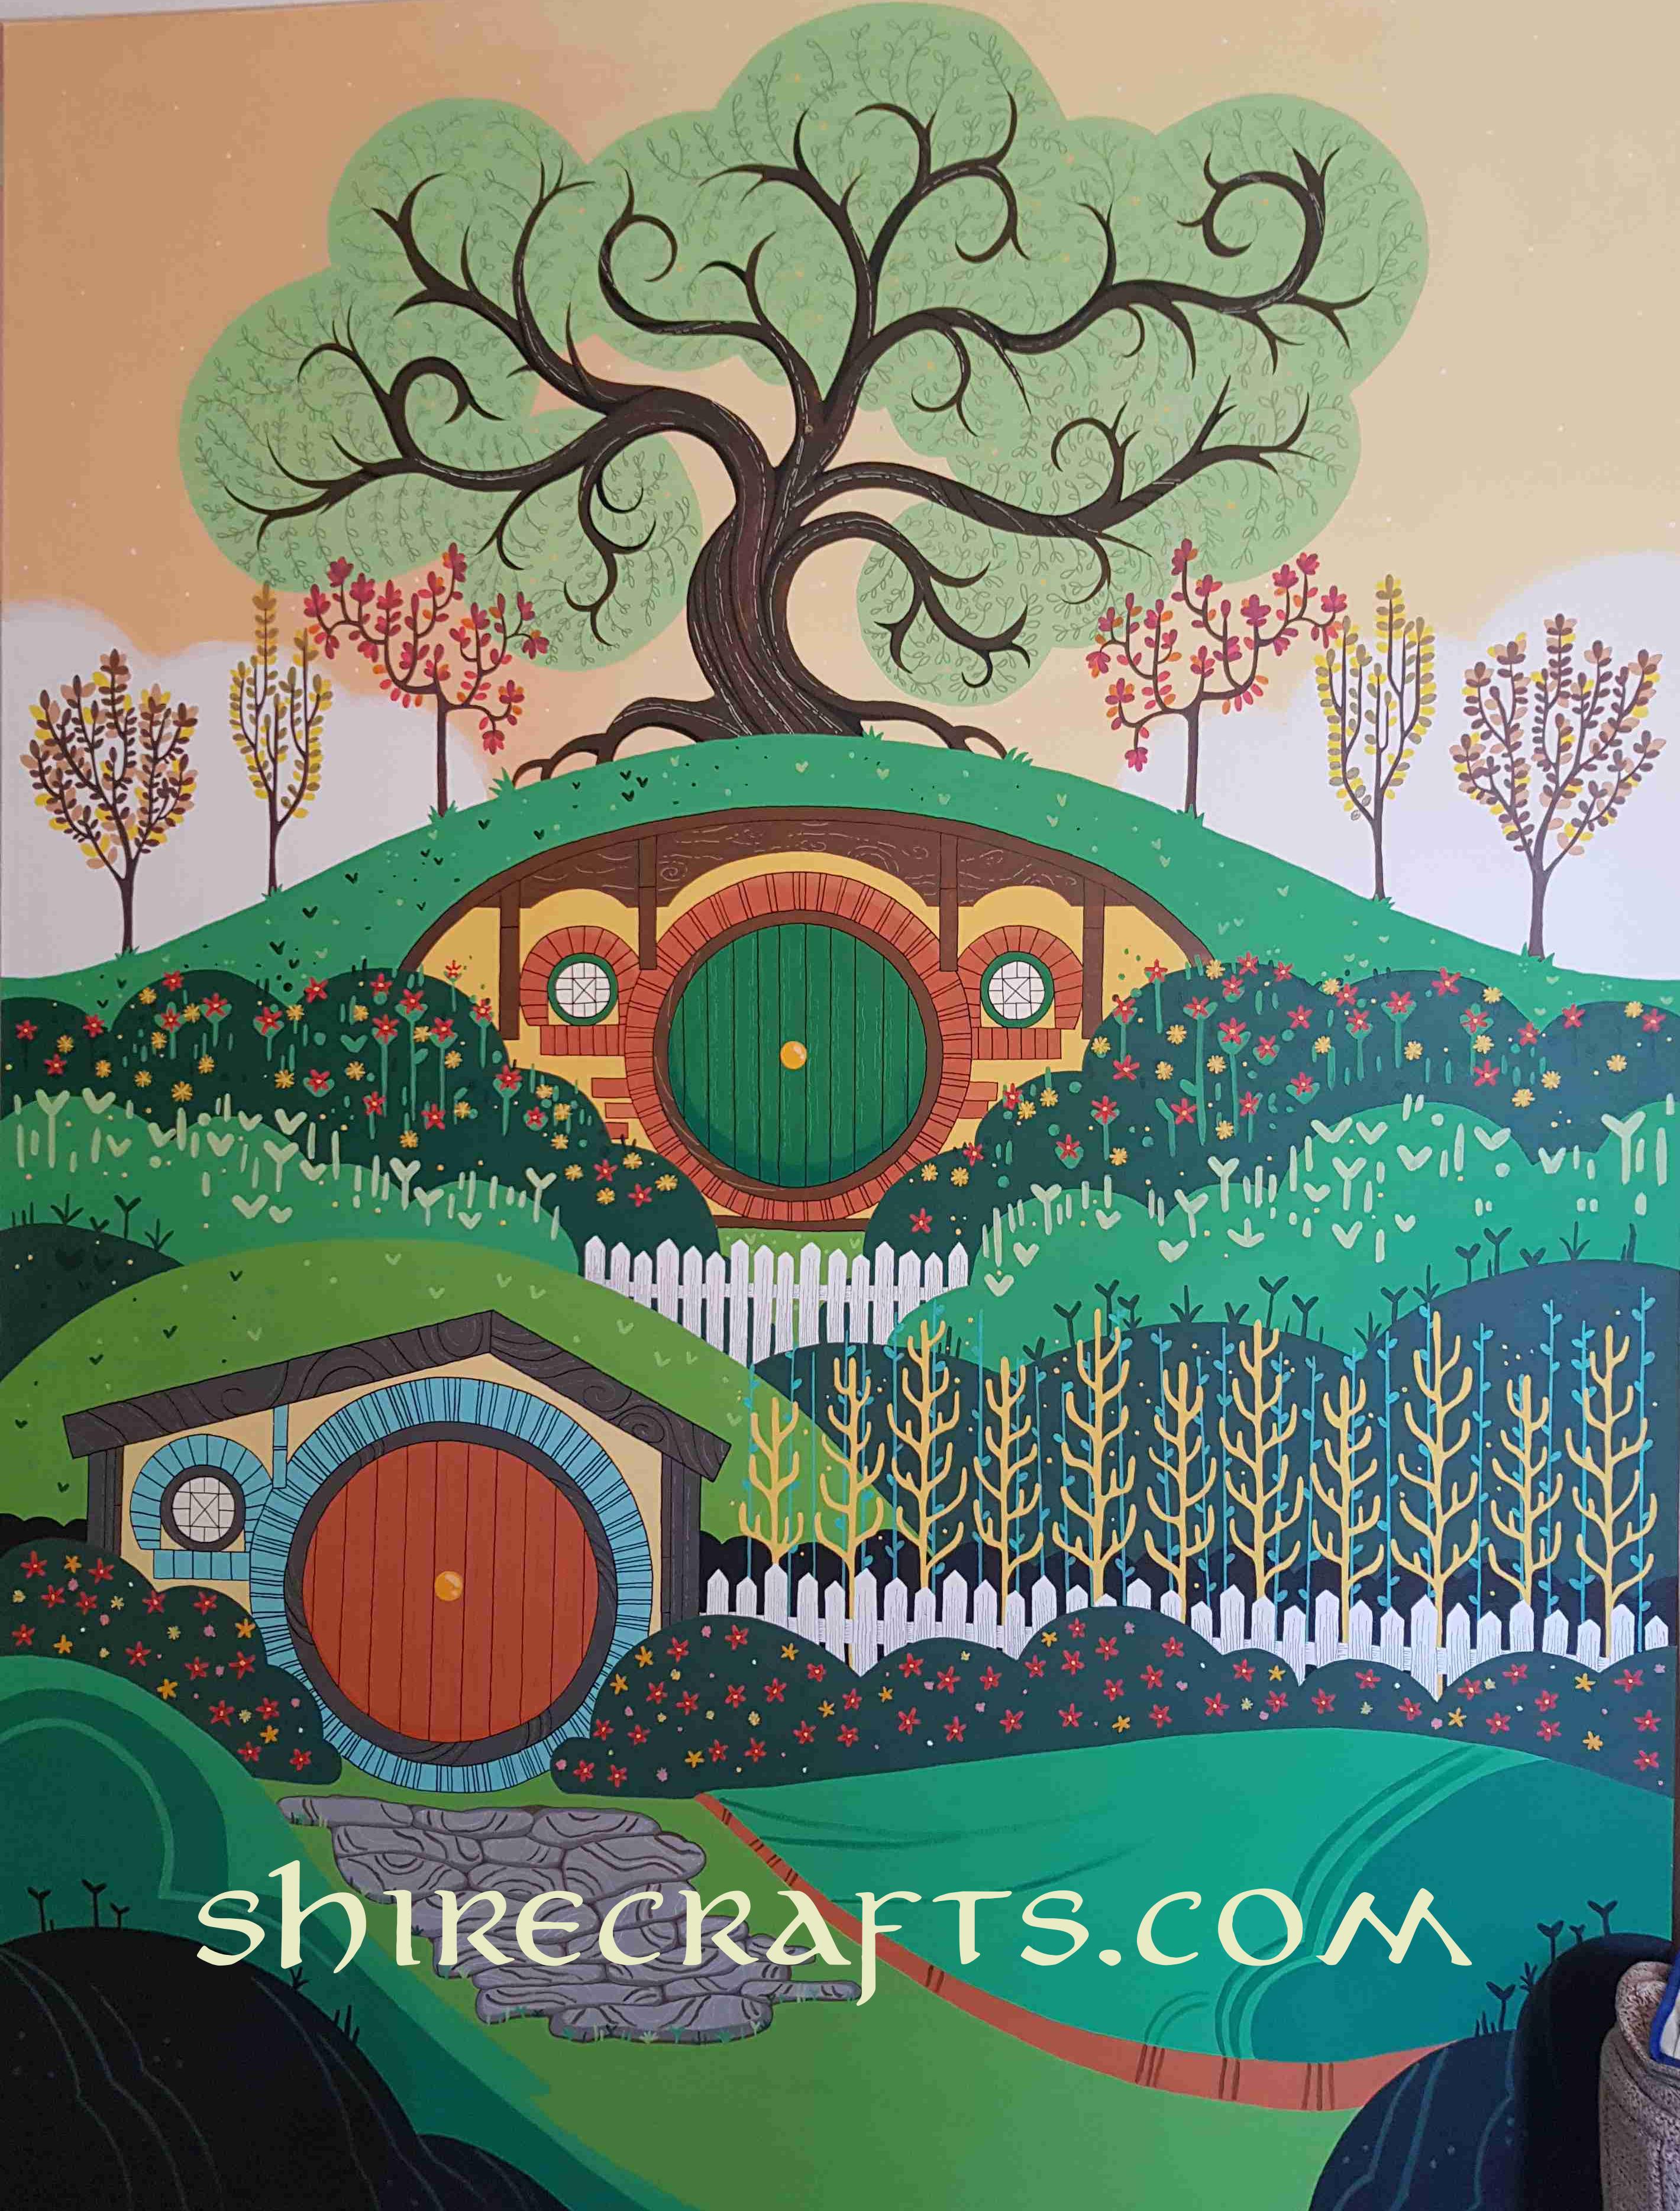
Shortly after having started outlining the picture, I thought that listening to Tolkien’s audiobooks while I painted that mural could make it even more fun, and I am not going to lie, it was a great idea. So after over eighty hours (over a 4-5 months period) of drawing and painting and having listened to both “The hobbit” and “The lord of the rings” trilogy, I managed to finish, and I am SO happy with the result!
I found myself having a lot of self-doubt at the beginning, I wasn’t sure of what the best way to do this project was, and I had to do some asking and experimenting. I also got a lot of very impressed people asking me if I could do something similar at their place. The truth is, anybody could paint a mural like this one, even if they don’t think they have the artsy skills to do so, as long as they are happy to invest a fair amount of time in it!
Materials
These are the materials I used for this project (Note that I don’t get any commission for recommending these products):
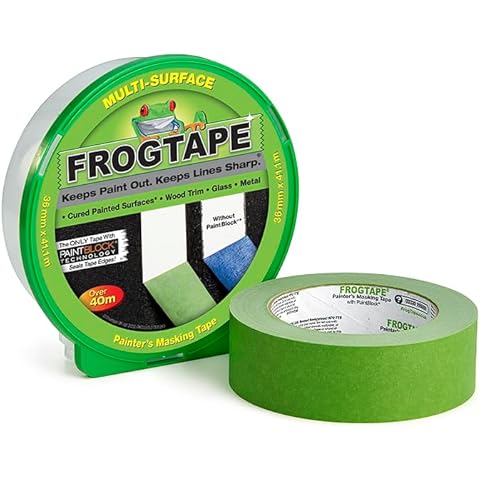
- Masking tape: I really like using Frogtape Amazon link because it does the job very, very well and the price is reasonable, but any other decent masking tape should do.
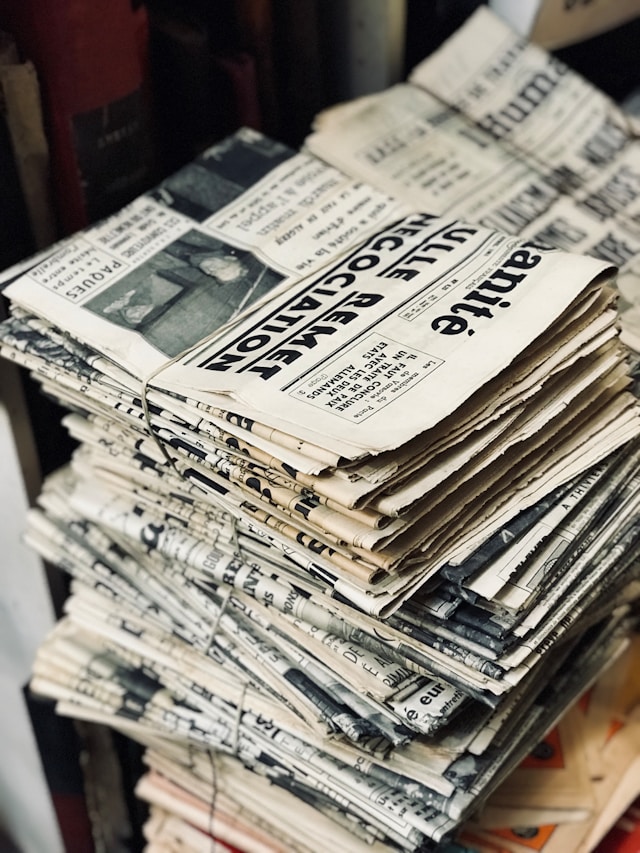
- Newspapers, bin bags or old fabric to cover the floor: I would recommend reusing/recycling where possible for this, but if you cannot find anything else, you can get some buffet paper (Amazon link).
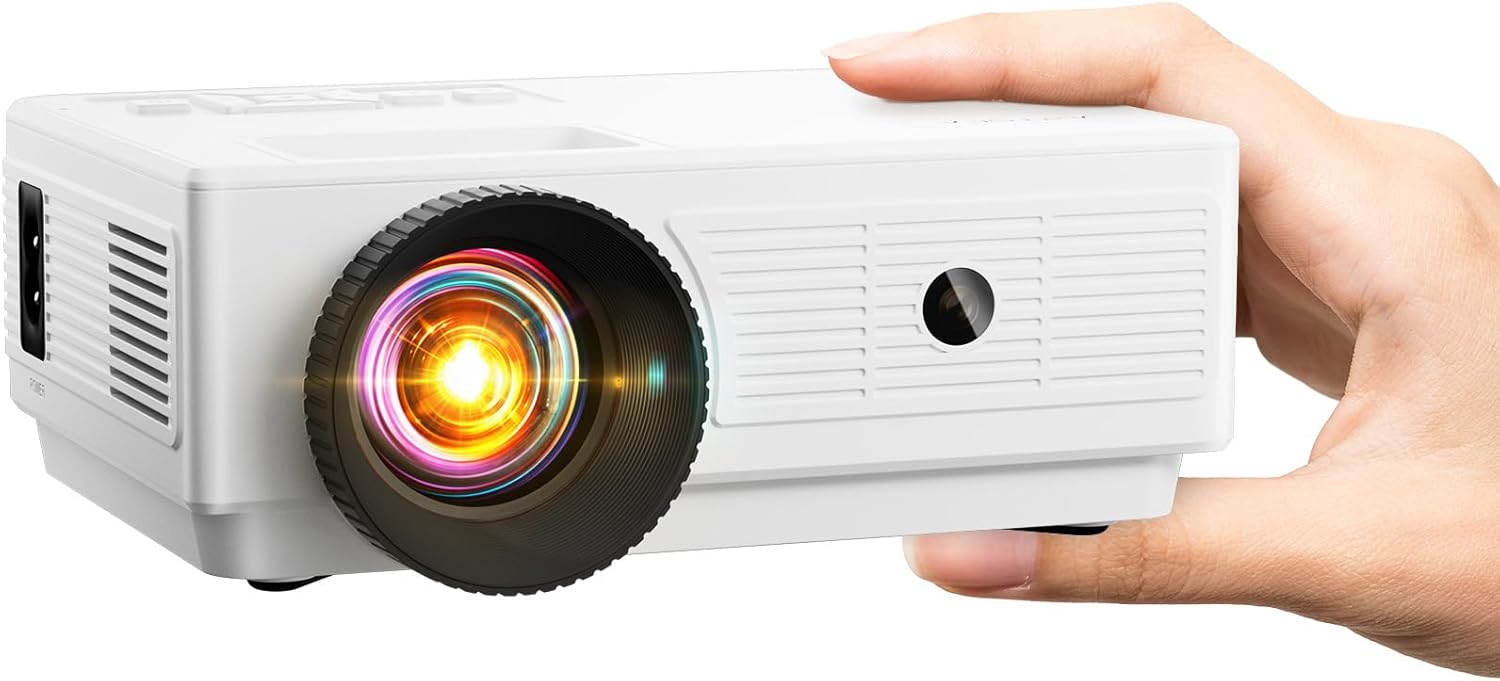
- Projector (optional): If you have a good hand for drawing, you can give it a go and draw your chosen design freehanded. In my case, although I love drawing, I am not used to this scale, so I borrowed a projector from a friend and drew my pencil lines over the projected image to make sure I got the proportions right. You don’t need amazing image quality, so any cheap one with good reviews should do (Amazon link).
-
A HB or softer pencil: For drawing the outlines.
-
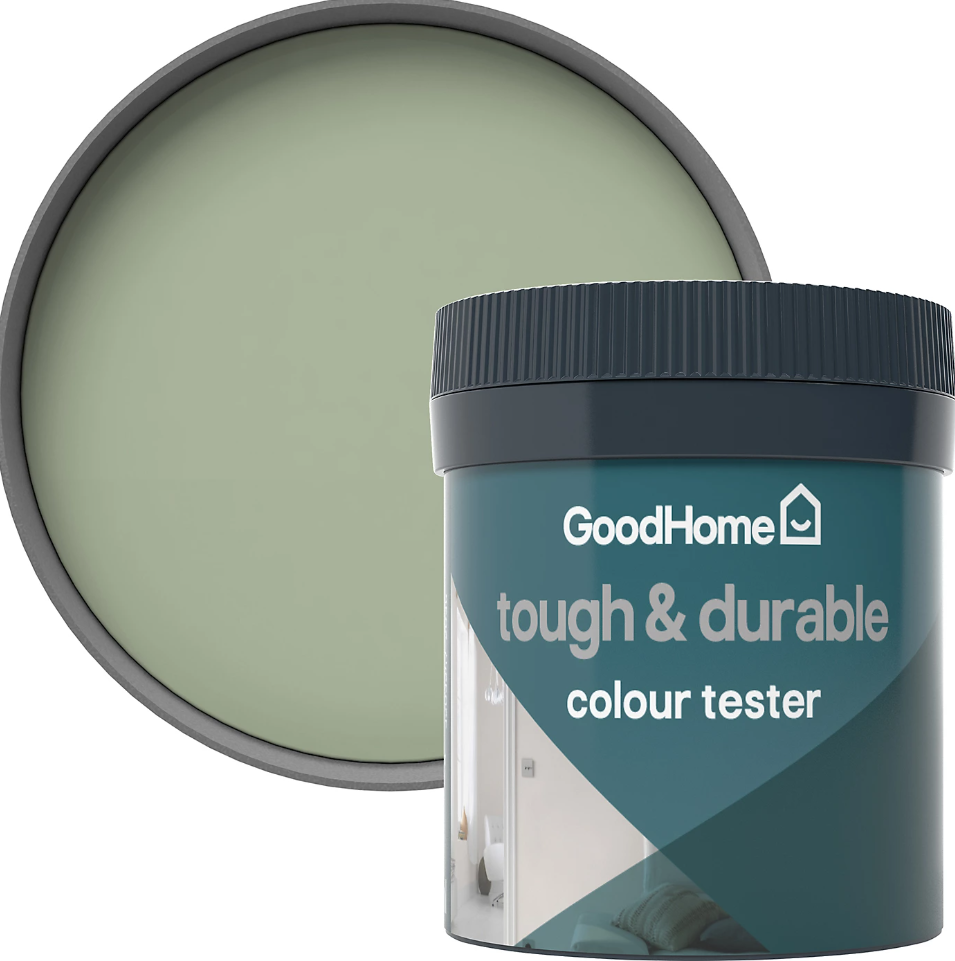
Paints: I used B&Q (UK) wall paints because they have a huge range of colours and you can buy small sample pots that are perfect for murals, but you can go to any large DIY store and see if they have similar. Another option would be to get big pots of the primary colours (magenta, cyan and yellow) and black/white and do all your mixes yourself, but just a warning that this might take a large portion of the total time. A third option is to work on it entirely with Acrylics except for the first priming layer, this might work out a bit more expensive and potentially be less durable.
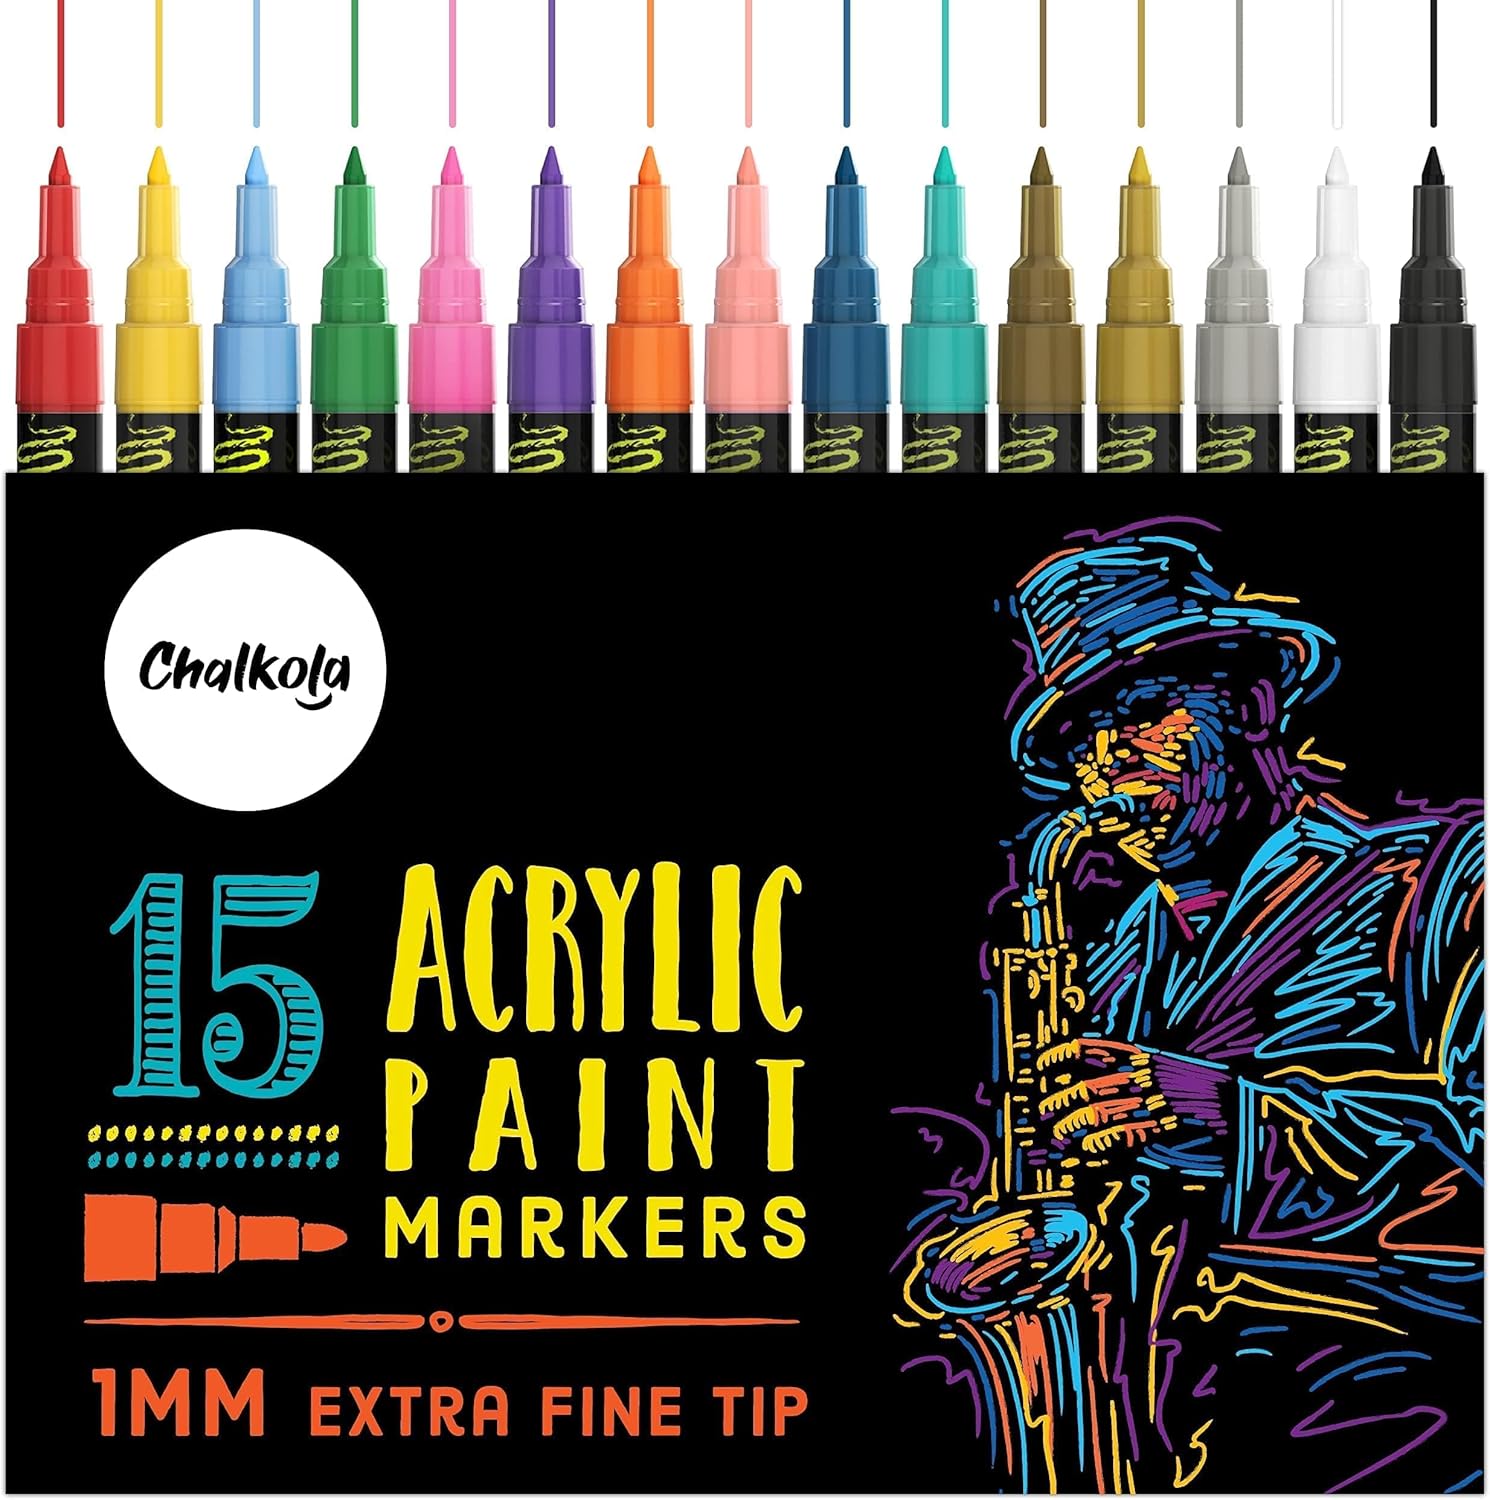
- Acrylic markers (optional): Although you can work fully with paints and brushes, acrylic markers made my life a lot easier for small details. If you have the funds, I got recommended POSCA pens (Amazon Link) by a professional murals artist, for being the best quality pens in the market. I was on a budget and went for cheaper ones (Amazon Link), and although they were a bit hit and miss in terms of color coverage and flow, they did the job for the most part.
- Brushes: Having a wide range of brushes helped a lot in order to easily paint both large surfaces and small details. I used these ones for the smallest bits (Amazon Link) and these ones for priming and large areas (Amazon Link).

-
The Hobbit and LOTR audiobooks (optional, but highly encouraged): They will make all those hours of painting a lot more enjoyable! You can find them on Audible (paid) and Spotify (15h of listening free per month if subscribed), you also have Phil Dragash version on Youtube which lots of people recommend.
-
Large amounts of tea to keep you hydrated!
.jpg)
Steps and tricks
-
Put masking tape on the edges of your mural. Take the time to do this properly and ensure all your lines are straight and that all the parts you don’t want paint on are covered. Also, tape the paper/plastic/fabric to the bottom to cover the floor.
-
Ideally, paint the wall with two layers of white wall paint, but wait until it dries fully before you apply a second layer. This will ensure we have a good initial canvas for our mural.
-
Place your projector (if using one) on the right place to be able to project the chosen picture on the wall. It might take some tweaking to get the correct size and focus, and this might be more difficult if the room is small. Worst case scenario, you can do smaller portions of the wall at a time with segments of the image.
-
Once happy with how your image is placed on the wall, draw the outlines with a pencil. Don’t worry if you are not happy with a particular line, you can clean them up with an eraser, plus these will disappear once the paint is on.
-
Create your paint mixes as needed (old plastic tupperwares from takeaway or supermarket food are great for this, and they will allow you to store the mixes for several days!).
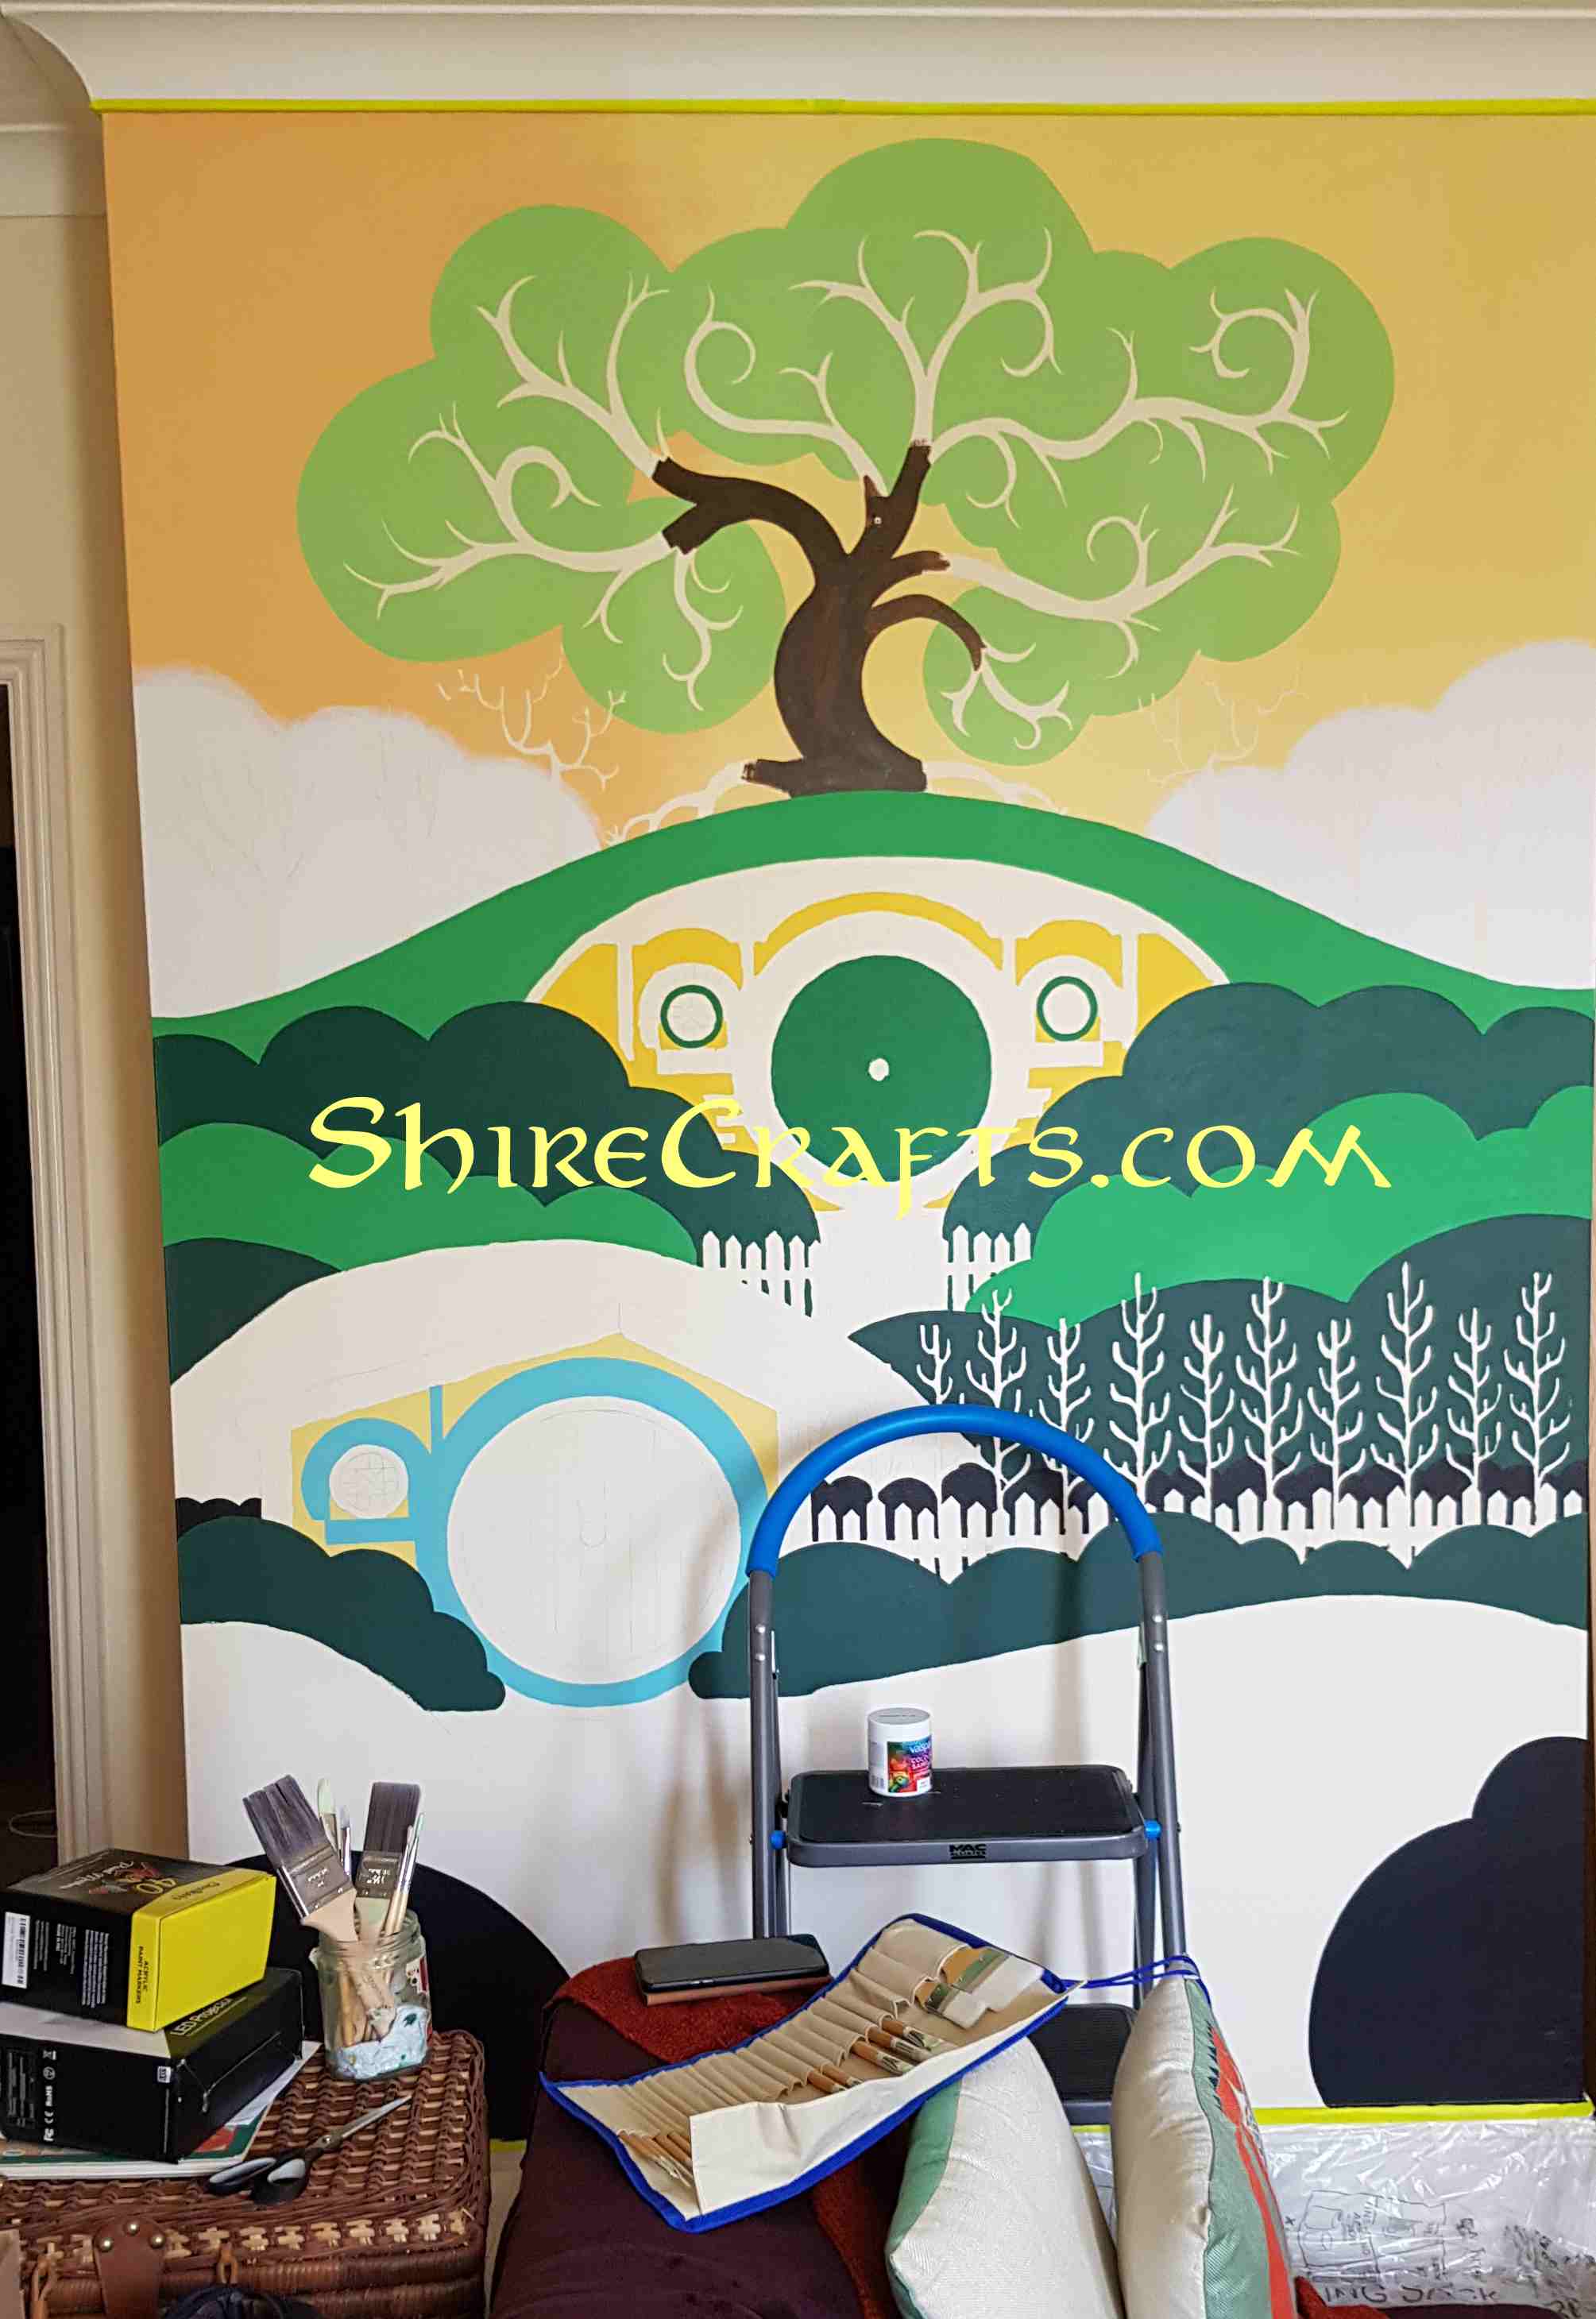
- and start painting the largest areas with a base color. Wall paints have the problem of having a fairly different tonality when they are fresh from when they dry out. I found myself having to repaint several areas due to this. Have this in mind if you are mixing paints at home and try to go for a slightly lighter color than the one you want on your mural. You can also paint a small sample area first and let it dry to test.
-
If you are starting with flat colors, try to do two layers of each color to ensure good coverage.
- Once you have all the large areas, use brushes and paints and/or acrylic markers for the small details and the outlines.
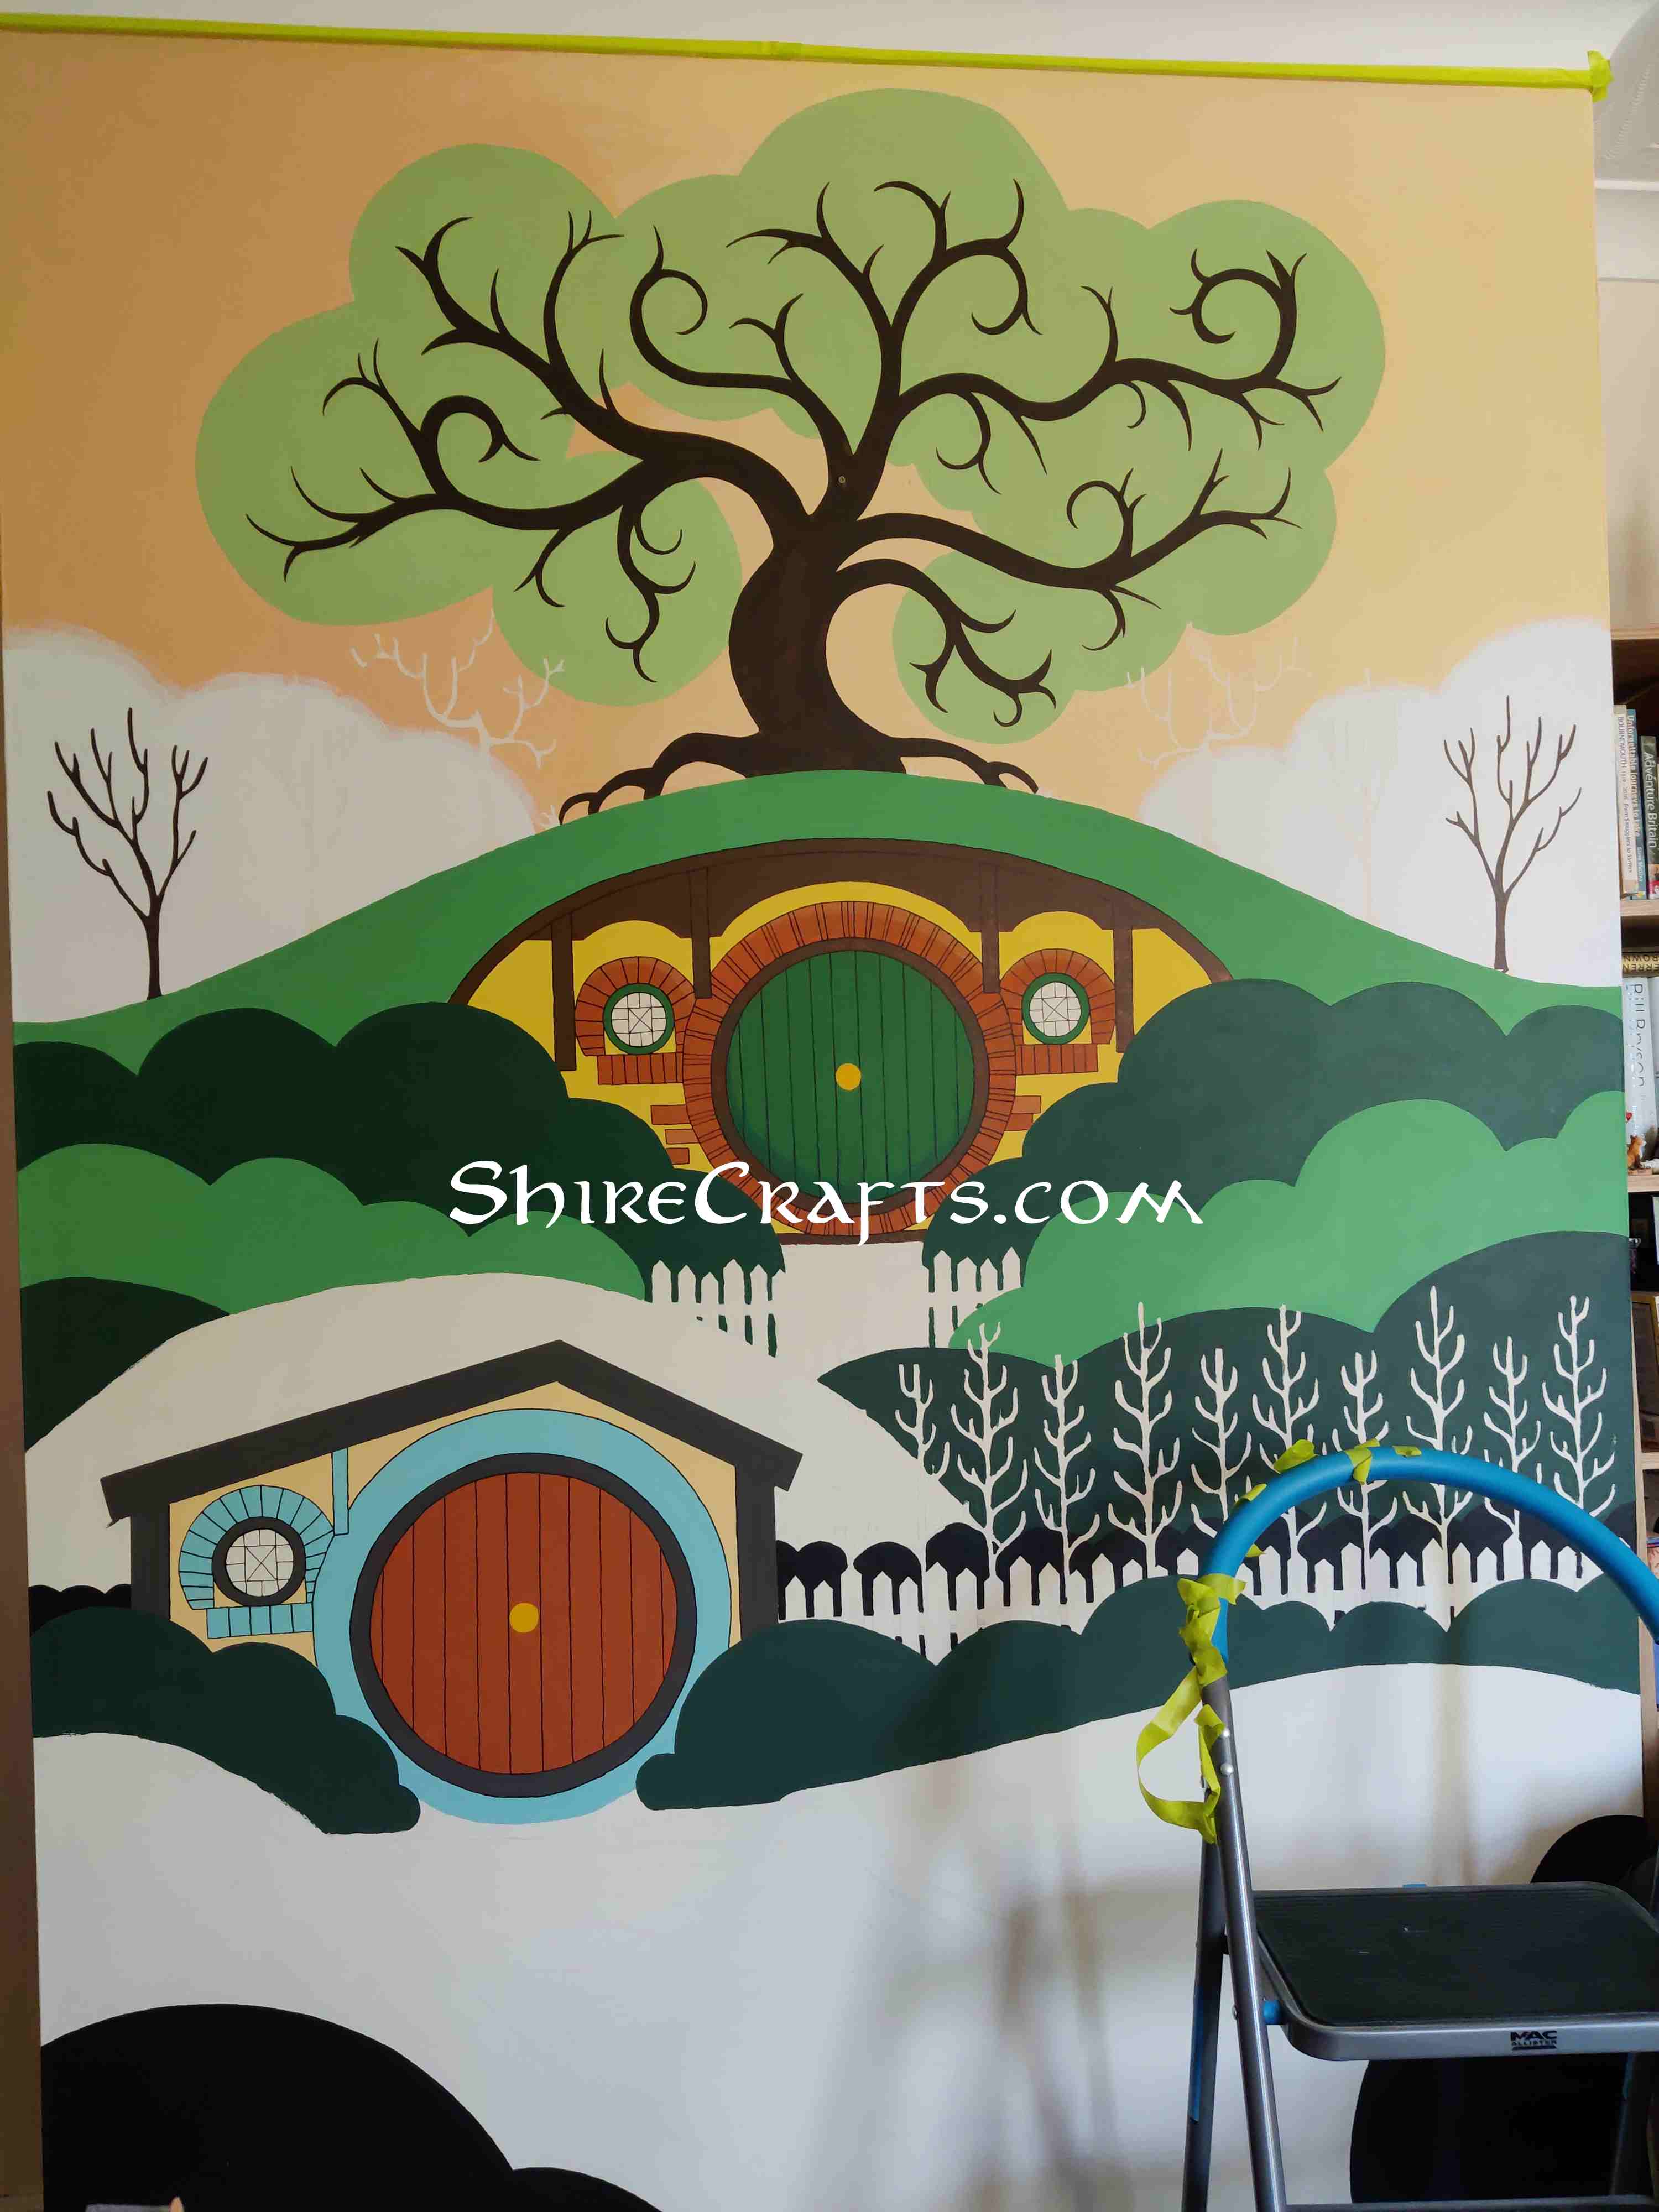
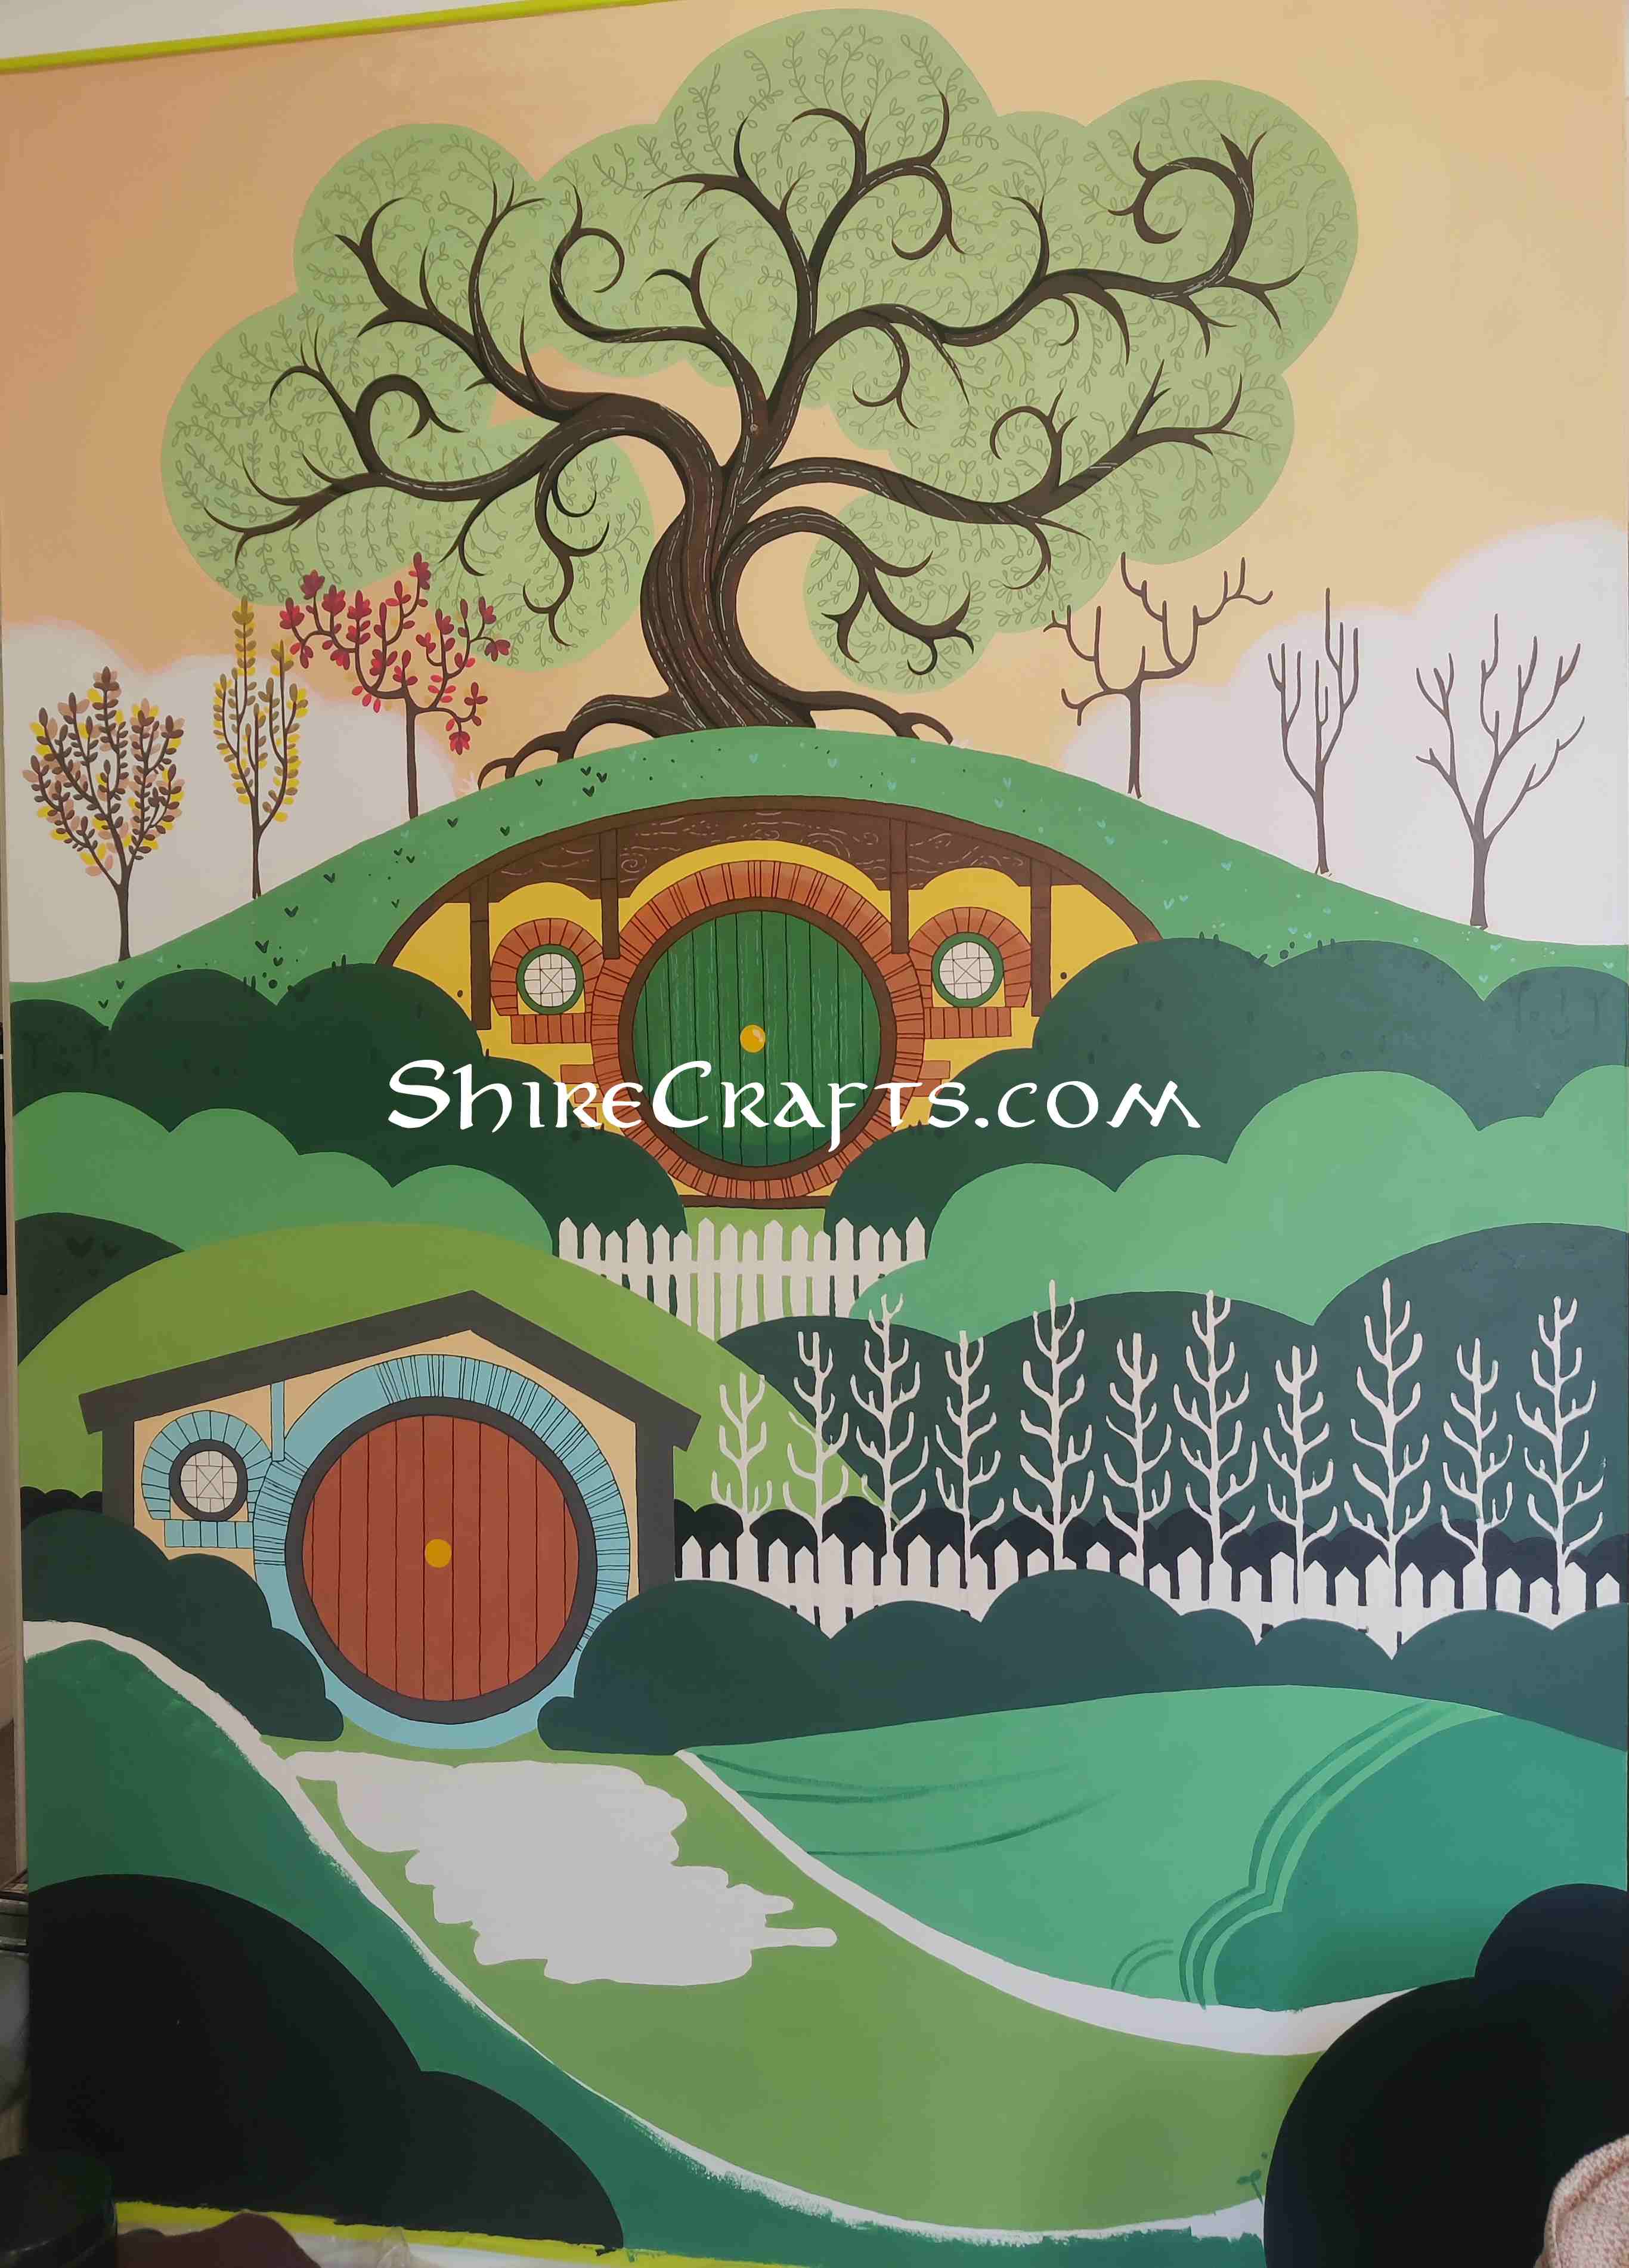
I really hope you found this tutorial useful and that it helps you make the decision to personalise your home with some amazing art. Please, do ask any questions you have on the comments!